Tuesday, December 29, 2020

Yet Another Christmas Quilt

Thank you for all the kind comments on my Christmas quilt posts.  

I made another one!  Meet Stardust:


I'm so happy with how it came out (it looks better in real life; too much sun and glare in the photo).


Stardust is about 70" square and made up of 4" sawtooth star blocks with sashing and plain blocks, in a diagonal setting.


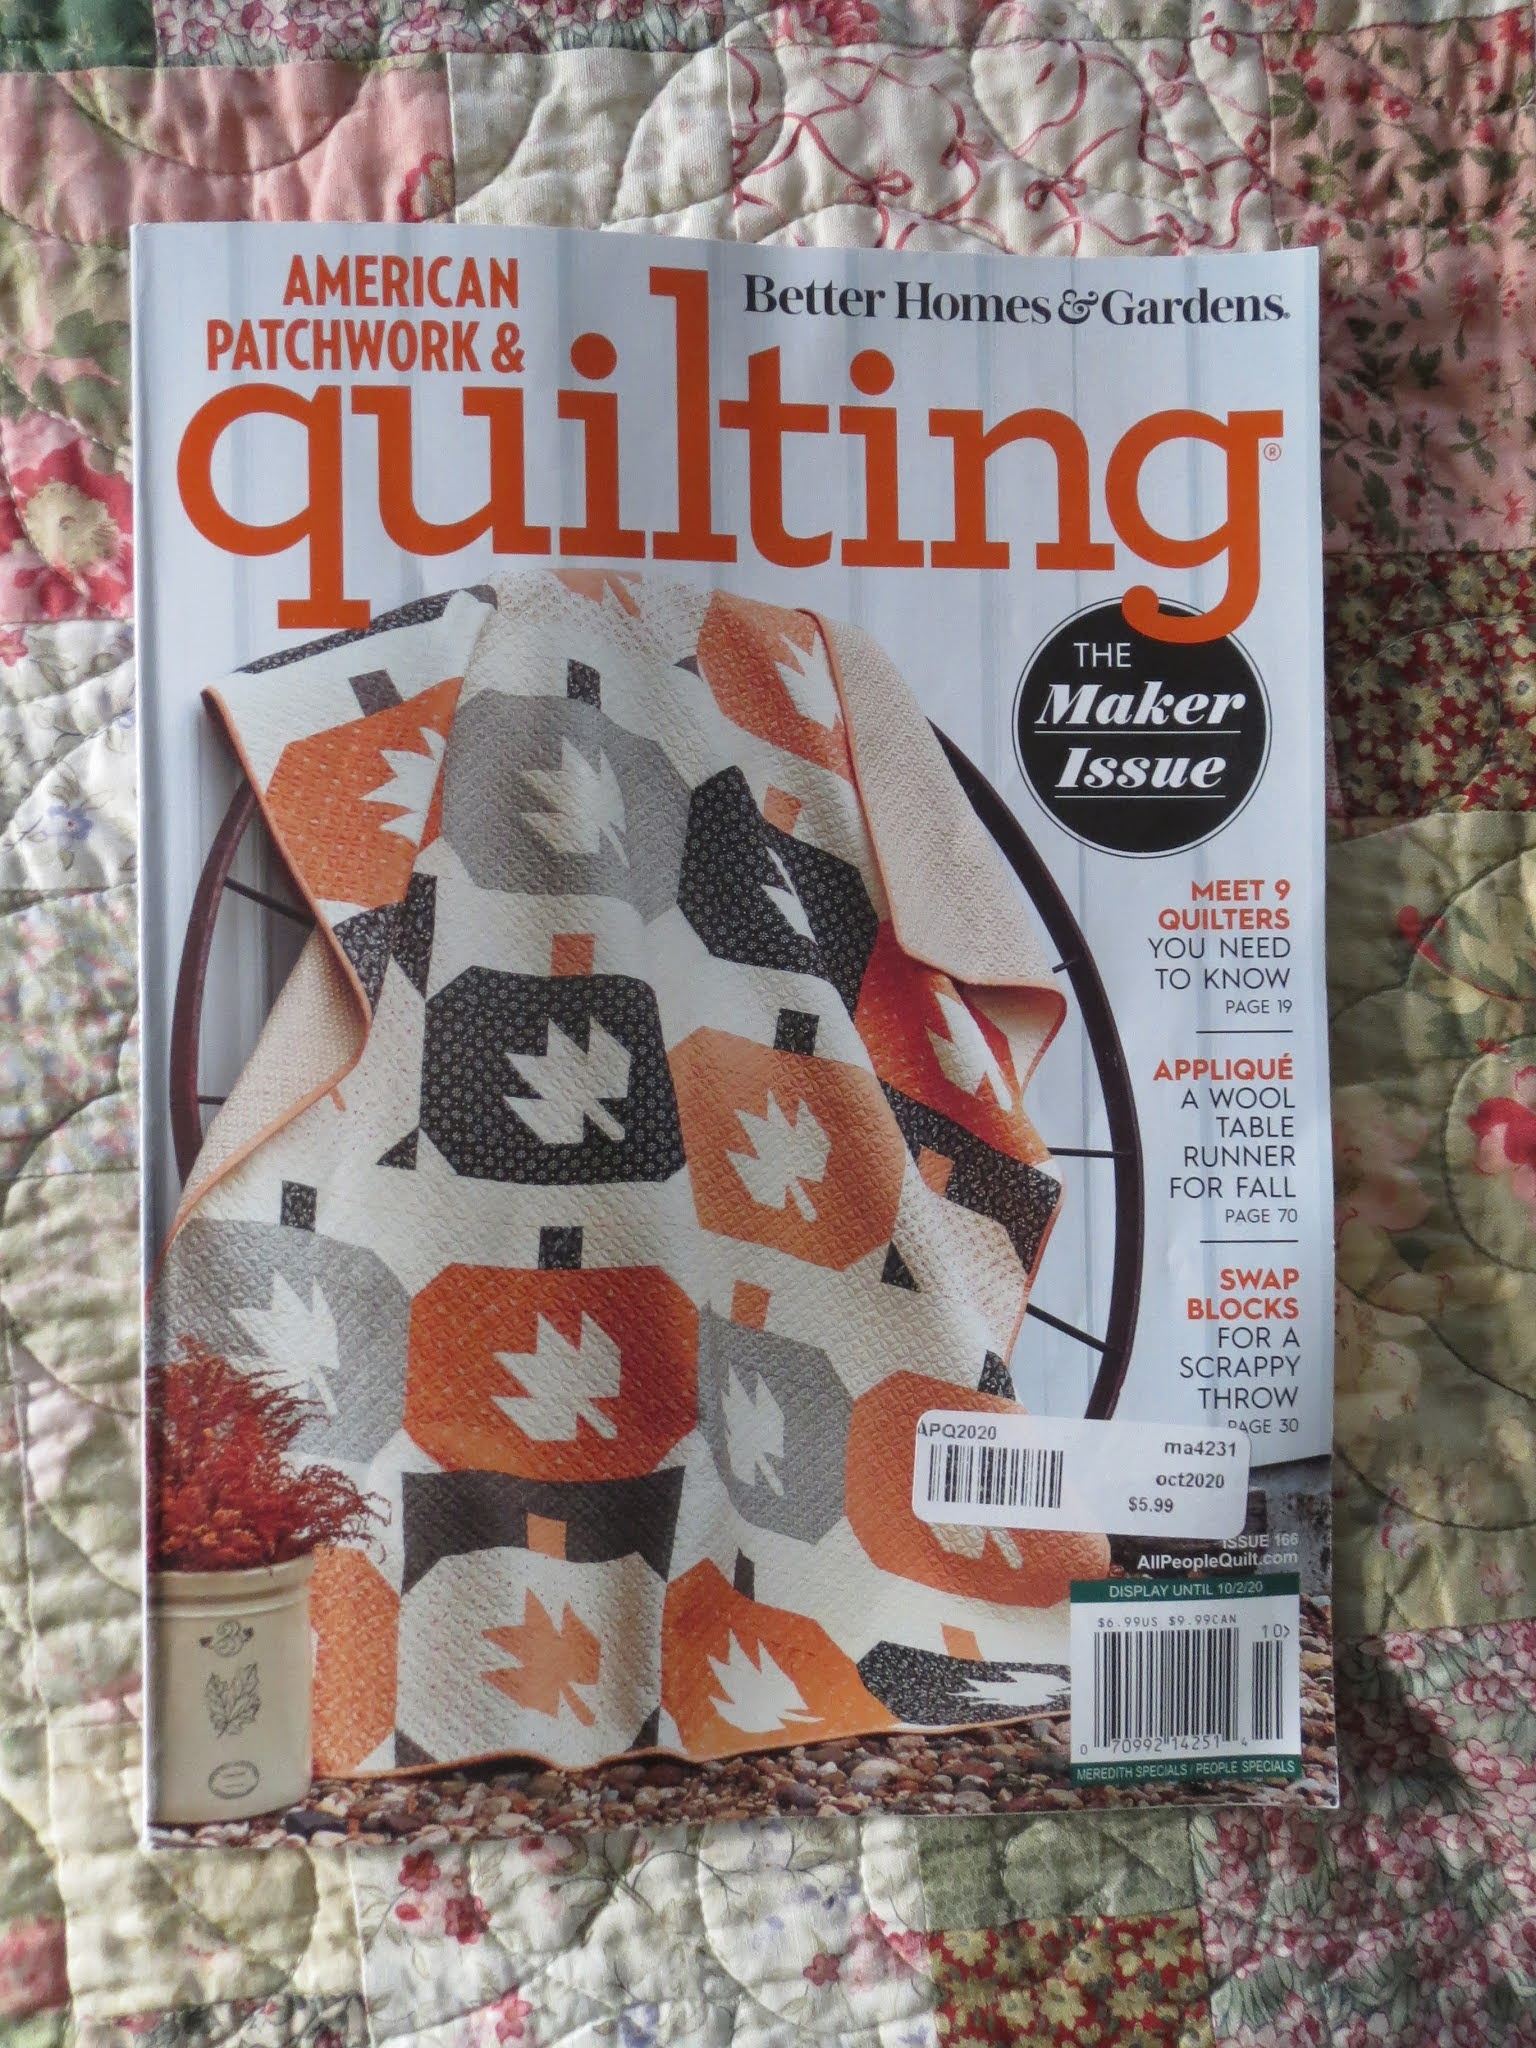
The directions came from the Oct. 2020 issue of American Patchwork & Quilting and the original quilt was designed by Sherri McConnell using her own fabric line for Moda.  


I used a Christmas fabric line called Jingle All The Way, by Nancy Halvorsen.  I've had this in my stash for a few years, so yes, another stash quilt.  The magazine directions have you make the stars out of 10" squares of fabric (layer cake squares) but I had a jelly roll and was able to get three stars out of each strip, with a little left over.  I didn't need all the strips so I removed the lights and the turquoise colors from the set and saved them for another project.  

I like this quilt so much, I am thinking about making another using my Fig Tree fabric leftovers. But before that, I need to get this one quilted.  I have a flannel sheet to use for the back (white, with polka dots in red and two shades of green).  Karen, my long-time longarm quilting collaborator, has retired to pursue her own creative endeavors so I am on the lookout for a new-to-me longarmer.  I found Karen via my LQS but the store is not open now because of the Covid situation in NJ (just online and phone orders for mail or pickup).  While it is not like I need this done right away, let me know if you have any recommendations.

I'll be back soon with a 2020 wrap up and my plans for 2021.

photo signature_zps7mcw44cc.png

Tuesday, December 22, 2020

12 Days of Christmas Quilts - Day 12


Not quilts but they are quilted - our Christmas stockings.  I made the first one (the red one) 25 years ago, when Miss Main Street was a baby, for her first Christmas.  It is quilting cotton, cut in the shape of a stocking, and embellished with some vintage lace.  I sandwiched the front with a light batting and backing fabric, while the back of the stocking is two layers of fabric without batting. The binding around both pieces holds them together and forms a loop at the top for hanging.  

I made a second stocking when we got our first dog, Reggie.  Now Dillie and Trevor (dogs two and three) have their own stockings as well.  


There is just a little simple quilting, at the toe and heel. 


And the stockings are the last of my Christmas quilts.  I hope you've enjoyed these 12 Days and it has given you lots of ideas for Christmas quilts for 2021.

Merry Christmas!
photo signature_zps7mcw44cc.png


Monday, December 21, 2020

12 Days of Christmas Quilts - Day 11


This is Sparkle, four large Lemoyne stars easily pieced from a jelly roll, from the pattern by Fig Tree Quilts called Jelly Stars.  The fabric is Blitzen by Basic Grey for Moda.  I made this quilt in 2013; more information in this post.

photo signature_zps7mcw44cc.png

Sunday, December 20, 2020

12 Days of Christmas Quilts - Day 10


This log cabin is another early quilt, made before I started blogging, mostly out of fabric leftover from yesterday's quilts.  It is machine quilted with a panto design of holly leaves, using variegated thread.  More photos in this earlier post.

photo signature_zps7mcw44cc.png

Saturday, December 19, 2020

12 Days of Christmas Quilts - Day 9


This was my very first Christmas quilt, made from a pattern in American Patchwork & Quilting magazine long ago (they might sell the individual pattern on their website).  It hangs on the wall in our kitchen at Christmas time.  I used a variety of mostly Hoffman Christmas-y prints and an off-white snowflake print for the stars.  I liked this design so much, I turned around and made another in queen bed size, which you can see here.  I hand quilted both.  This would be a good design to make using a fat quarter or fat eighth bundle from a fabric collection you particularly like.

photo signature_zps7mcw44cc.png

Friday, December 18, 2020

12 Days of Christmas Quilts - Day 8


I made Wooly Wreath in 2011 (it was a prolific year for me).  The directions were in an American Patchwork & Quilting publication called Sew Scrappy.  This was my first attempt at wool applique and while I enjoyed it, piecing is my true love.  There is a good tutorial for wool applique here.


photo signature_zps7mcw44cc.png

Thursday, December 17, 2020

12 Days of Christmas Quilts - Day 7


Misty Pine, made in 2011 from a pattern of the same name that is now out of print.  I foundation pieced the tree than used fusible web followed by a narrow zig zag stitch to applique the top and bottom and the red swooshes.  This is a small wall hanging, perfect for a long, narrow space that needs a little something.  It is so lightweight, I can hang it with double faced tape on the back.

photo signature_zps7mcw44cc.png

Wednesday, December 16, 2020

12 Days of Christmas Quilts - Day 6


This is Boughs of Holly, made in 2012 using a pattern called Crossroads by Red Crinoline Quilts.  I think the pattern is out of print.  This quilt is made special by the border fabric, an April Cornell border print design for Moda featuring holly leaves and berries on a red background and framed by green stripes.  I rarely use black but including it in this design really makes the red and green pop.  There is more information and more photos in my original post.

photo signature_zps7mcw44cc.png

Tuesday, December 15, 2020

12 Days of Christmas Quilts - Day 5


This is Christmas Stars, started in 2011 and finished in 2012.  This quilt generates the most enquiries from blog readers, who usually want to know what the pattern is and where to get it.  But there isn't a pattern.  I came up with the block, a variation on Ohio Star.  I do have a tutorial for the block, here.  My original post on the finished quilt has more photos, including close-ups of the gorgeous custom quilting by Linda Hrcka of The Quilted Pineapple.

photo signature_zps7mcw44cc.png

Monday, December 14, 2020

12 Days of Christmas Quilts - Day 4


This is Christmas Ribbons, made in 2011 from a pattern called Ruby's Ribbon Box.  The pattern is written for a layer cake/10" squares but I used fabric from my stash.  It's a great little stash buster with a modern look.  There's more information in my original post.


photo signature_zps7mcw44cc.png

Sunday, December 13, 2020

12 Days of Christmas Quilts - Day 3


This is Christmas Day, made in 2010 using the Miss Rosie pattern called Brand New Day.  The block is a variation on Ohio Star and the fabric is by Robyn Pandolph for Moda.  (BTW, she used to be a major fabric designer, what happened to her?  Maybe she just retired?)

There is more information in my original post.


photo signature_zps7mcw44cc.png

Saturday, December 12, 2020

12 Days of Christmas Quilts - Day 2


This is Evergreen, made in 2014 (2014 was a particularly good quilting year for me for some reason).  The pattern is Twilight Hopscotch, from the book Simple Comforts by Kim Diehl.  It is a simple to make design that uses two prints (tone on tone or simple prints) plus background.  More about it, including more photos, can be found in my original post.


photo signature_zps7mcw44cc.png


Friday, December 11, 2020

12 Days of Christmas Quilts - Day 1


This is Merry and Bright, made from miscellaneous fabrics in my stash in 2014.  The pattern is Trellis Crossroads from the book Modern Bee.  More on this quilt, including more photos and my notes on the pattern directions, can be found in the original post.


photo signature_zps7mcw44cc.png


Thursday, December 10, 2020

Moving On To Christmas Sewing

I'm making tiny sawtooth stars.


I saw a quilt design called Star Struck in the October issue of American Patchwork & Quilting.  It's by Sherri McConnell of aquiltinglife.com and was made in her latest fabric line for Moda called Balboa.


While very pretty in the Balboa prints, my thought was to make it my own using Christmas-y fabric from my stash.  In my sewing room reorganization (see prior post), I uncovered a cache of fabric in a bag, Christmas prints from a line called Jingle All The Way by Nancy Halvorsen.  When I write "cache" I mean I have 2.5 yards each of three different fabrics, 1/2 yard each of three fabrics, a jelly roll and a charm pack.  Then I found another piece from the line, leftover from backing another quilt.  I think this fabric is a few years old and I don't remember what I planned to make when I bought it.  Anyway, with the addition of some Kona solid in snow for the background, it was plenty for making this quilt Star Struck. 

The stars finish at only 4" and I am getting three out of each jelly roll strip.  Given the speed at which I sew, this quilt won't be finished for Christmas 2020 (well, I aim to have the top finished but it won't be quilted) but that's okay because I have lots of Christmas-y quilts to use in my decorating.  In fact, I'll be back soon with 12 Days of Christmas Quilts.

photo signature_zps7mcw44cc.png

Tuesday, December 8, 2020

As Long As You're Going To Target


It's been even longer than I thought!  After months of high quilting productivity, I went on a break/slow down.  I really needed to give my sewing room a good clean and reorganization.   At the beginning of this year, I stated my goal is to whittle down my stash and finish some UFOs.  I've been doing that but during the clean up, I uncovered some fabric, kits, and PIGS (projects in grocery sacks - e.g. everything bought for a project, put in a bag, and never started).  So I tried to organize my stash to make it all more visible, more clear what I have on hand.  And that's where these marvelous baskets/bins from Target came in handy.


These bins came to my attention on Nicole's/SistersChoice blog a few months ago.  I messaged her to find out where they came from then set out for Target.  The size - roughly 5" by 13" long and 5" deep - is perfect for holding folded fat quarters, charm packs, and jelly rolls.  And they are a good size to fit on the shelves in my closet.  I started with one and now have six.  You can also buy them online here but they ship only as part of a bigger order.  So if you are going to Target anyway, check them out.  They come in other sizes too.

Once reorganized, I started some Christmas sewing and will be back soon to show you.

photo signature_zps7mcw44cc.png

Tuesday, September 29, 2020

Great Granny Squared - Finished Quilt


Meet Mabel Mae!


Mabel Mae is my Great Granny Squared quilt, quilted and bound.  The pattern is by Lori Holt of Bee In My Bonnet and is easy enough for a beginner.  I made it from fabric I had on hand (2020 is my year of stash busting), even the backing and binding are from my stash.  

I modified the border design and my quilt is roughly 57" by 70" after quilting.


Mabel Mae was quilted by Karen Thompson using a pantograph design of a leafy vine.  


I used a pale green floral for the binding.  It puts a stop at the edge without announcing it presence so all the focus is on the blocks.


The backing is a floral/ticking stripe combination, likely added to my stash when I was in my shabby chic/cottage design phase.  


I asked for name suggestions when I showed you the finished top and Ellen in Oregon's suggestion of Sweet Granny got me thinking why not name the quilt after one of my great grandmothers.  


Mabel Mae Roberts Briggs Seger was my mother's maternal grandmother.  My mother is the child in the photo below, with her mother, her two grandmothers, and the three great grandmothers that were still alive at the time (this must have been taken in 1936); Mabel is on the far left in the back row.  Mabel was born in 1883 in Wolverine, Michigan, a logging town in the northern part of the lower peninsula.  She married Joseph Briggs in 1903 and had three daughters; the eldest, Ruth, was my grandmother.  They moved to Lansing around 1914 and opened a dry goods store.  After Joseph died, Mabel continued to run the store and later, was married again, to Art Seger.  Mabel died in 1958.


Mabel was a quilter and her quilts were well-used so few have survived to today, but my mother does have a few.  My grandmother sewed as well but once the Depression and World War II were over, and consumer goods were back in stores, they did not do much sewing as they associated it with having to "make do" and felt they did not need to do that any longer.  My mother is a great cook but never liked the sewing part of home economics; when I see her, she often has something for me to fix or a pair of pants to hem shorter.  When I was in junior high, all the girls had to take home ec (the boys had workshop) and I enjoyed the sewing part.  In the lead up to the bicentennial in 1976, there was a refocus on traditional Americana, including quilting, and that's when I became interested, though I did not get totally immersed until about 1992, and obsessed shortly thereafter.  

An aside about the family photo above.  When I worked in the skincare industry, I used the picture to illustrate how expectations of aging have changed.  The three great grandmothers in the middle of the back row were in their early and mid 70's at the time the photo was taken.  The two grandmothers were 53 and 55.  All I can say is thank goodness I have tretinoin, sunscreen, and advanced moisturizers!


photo signature_zps7mcw44cc.png

Wednesday, September 23, 2020

Sewing Bags and Bins - Part 3 - Lola Pouch by Sotak Patterns


I follow a number of quilting blogs and several bloggers have posted zipper bags they made and mentioned how addictive making them can be...now I understand!


A zipper bag seemed like a natural companion for my Sierra Bin but there are so many patterns out there.  After much review online, I chose the Lola Pouch by Sotak Patterns, and purchased the pattern as a download from the Etsy shop.   I was drawn to this pattern because it seemed fairly simple but with no exposed seams inside or need for a serger (I don't have a serger) and that I could use two fabrics to coordinate with my bin.  

The instructions were very easy to follow, with explanations and "pro tips" that helped the construction process go smoothly.  Even the zipper installation was easy.  I used my machine's zipper foot for the zipper and the binding (the binding encloses the zipper tape and the top raw edge of the bag), though the instructions don't call for it so if you don't have one, you will probably be okay.  The small bag went together quickly so I decided to make the large bag too.  These bags are lined and I learned a "pro tip" that helps the lining fit smoothly; I'll be applying that tip to all future bags (it involves making the seams of the lining 1/8" deeper than the outer seams, so the lining is that tiny bit smaller than the outer bag - it worked perfectly).


The small bag holds spools of thread I purchased to match the fabric I'm using in my Flowers for Emma hexagon flowers.  The zip bag can go right inside my Sierra Bin.  The "handmade" zipper pulls are from Fat Quarter Shop; only $2 apiece!  I used light weight interfacing in the zip bags; the pattern doesn't call for batting but you could add it if you want the padding.  

Now I understand about the zipper bag addiction and will no doubt be making more.

This is the end of my sewing bags and bins series.  I'm well supplied and organized, and will be back next week with a finished quilt.


photo signature_zps7mcw44cc.png

Tuesday, September 22, 2020

Sewing Bags and Bins - Part 2 - Sierra Bin by Indigobird


I'd been looking for something that would easily hold my English paper piecing project and tools and could be transported around the house.  I'd been using a small tin to hold the tools but it is not large enough to hold the project in process as well.  Then a few months ago, I happened across the website for Indigobird patterns, found the Sierra Bin pattern, and thought it looked like the perfect solution.

I bought the pattern from the Indigobird website as a pdf download.  BTW, I've bought pdf download patterns a number of times, from Etsy and from independent designer sites, and never had a problem...just in case you've been wondering about it.


I had a piece of chambray fabric in my stash that I thought would be perfect for this bag.  It's a lightweight upholstery fabric remnant I bought years ago, it's been sitting around waiting for a project to come along!  It looks quilted but it is actually some kind of bonding that gives the quilted effect.  I needed some contrast trim and lining fabric, and again, ransacked my stash.  


The measuring twill tape is backed by a small piece of Liberty cotton, purchased from Spotweldon on Etsy.  I used a whimsical Union Jack heart print for the lining.


The lining is created with a series of pockets round the inner walls of the bin.  They are perfectly sized to hold small items like little scissors, a needlebook, small tin of Wonder Clips, etc.  


Here's the bin filled with my current EPP project, hexagon flowers for a Flowers for Emma quilt.  Tools are in the pockets around the edge.  The center holds my Super Bobs donut of thread, Clover needle threader, small pin cushion, and plastic bags of cut fabric, papers, and fabric covered papers ready to be sewn.  The finished flowers can go in the bin's outer pockets, one on each side.  And there's room to toss a small zipper bag in on top (and I just happened to make one of those, more about it tomorrow).

The design and pattern for the Sierra Tote +  Bin is extremely well thought out and the instructions are very detailed, with lots of photos so each step is well illustrated (the pattern printed out is 24 pages).  I had no problems following the instructions and all the pieces fit together perfectly.  I've made a few bags over the years and usually struggle to get the lining to fit smoothly but did not have any problems with this one.  Because I used heavier fabric for the outer bin, it is sturdy and the sides don't cave in or sag so I think this pattern is perfect for light or medium weight upholstery fabric or canvas.  If you use quilting cotton, you will need heavier interfacing to provide more body.  I'm very happy with my bag; I'll make another one as soon as I figure out what to use it for.

Come back tomorrow for an account of my experience making the Lola Pouch.


photo signature_zps7mcw44cc.png