Showing posts with label tutorials. Show all posts

Friday, July 7, 2023

Just Finish It Challenge - A Finished Quilt


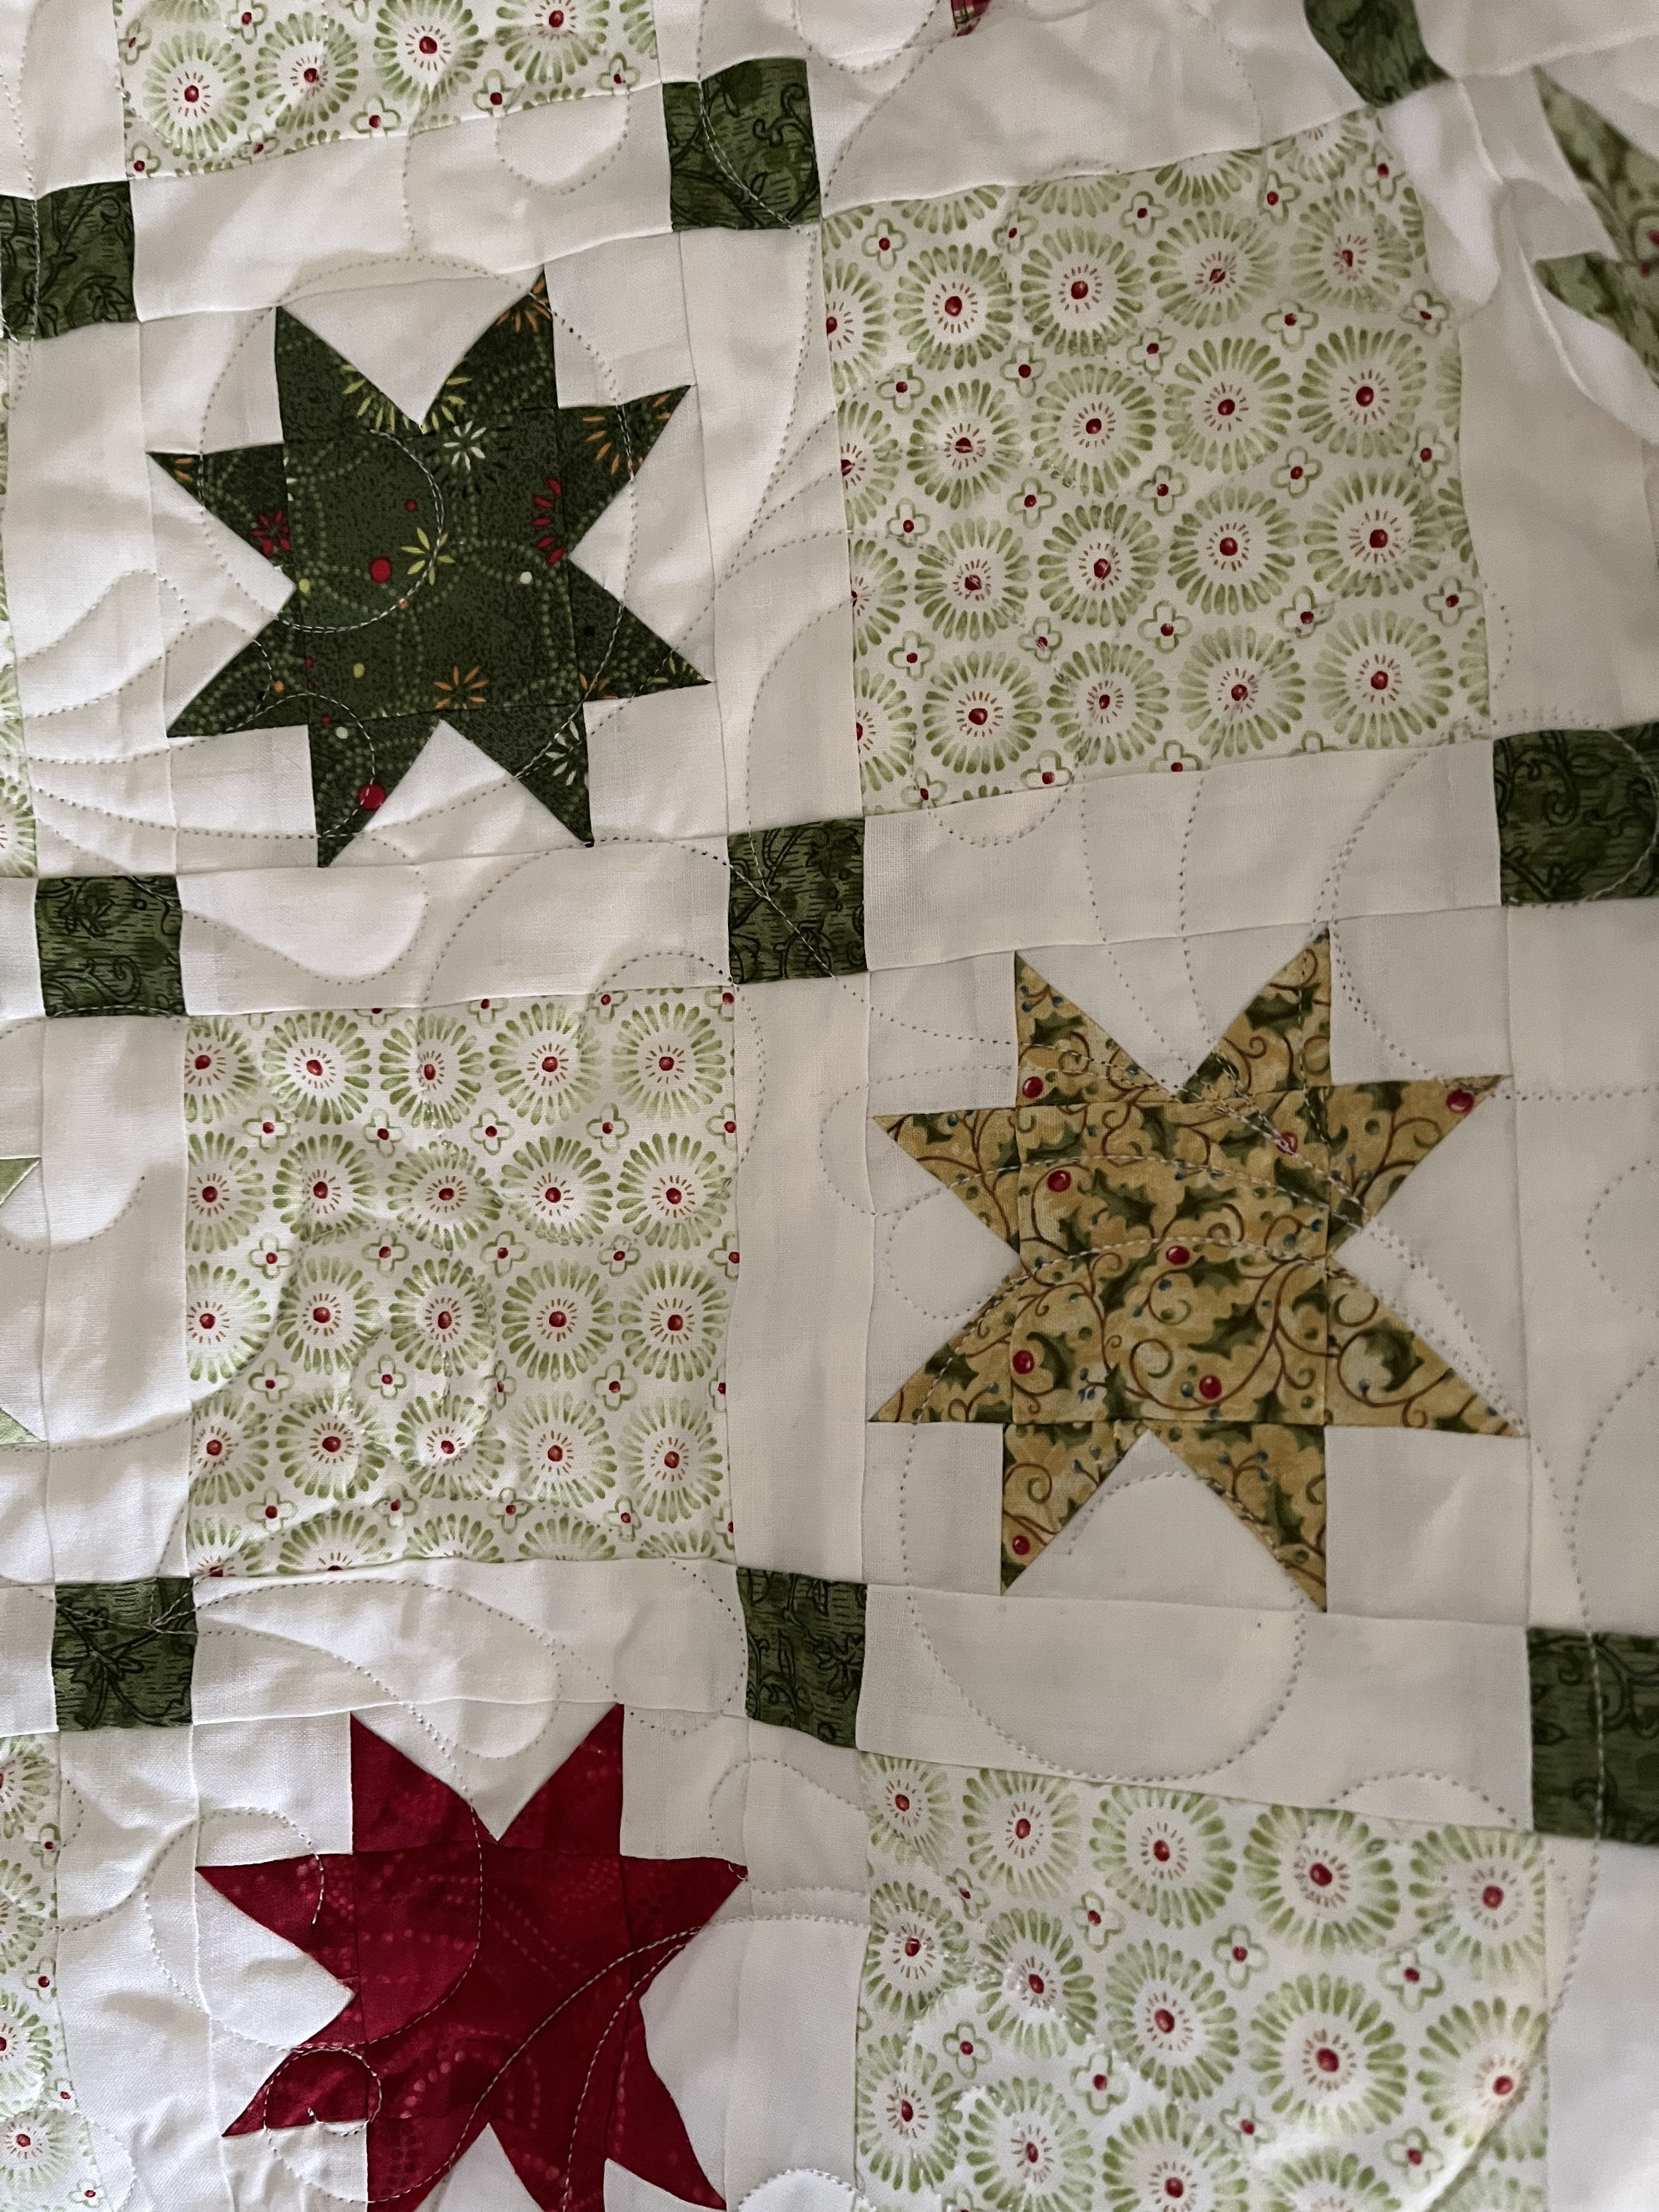
I've turned another UFO into a finished quilt.  This one also counts as a "Fig Tree Harvest," that is, a project using my vast collection of fabric from Fig Tree & Company for Moda Fabrics.  My plan is to store this quilt until I need a baby quilt as a gift for someone.  


Teresa Silva of Quilting Is My Bliss did the longarm quilting.  


All of the fabric, including the border, binding, and backing, came from my Fig Tree stash.  This is the stash that never seems to diminish in size; I still have tons!


The pattern is called Coastal and is by Sherri of A Quilting Life.  I made this pattern before, sticking to the pattern directions.  That quilt is called Jingle All The Way.  It is one of my favorites.  


Making the pattern a second time, I decided to "customize" it with a little variation.  Instead of sawtooth stars, I made modified Ohio stars.  


To modify the Ohio star, you start with the components of a traditional Ohio star block.  


Then you trim the hourglass block components.  I trimmed a 1/4 inch off of each hourglass as shown, 


so that when sewn together, the blocks would be 4 inches square.  I did pause and reconsider after making the first block, concerned it looked like I accidently nipped off the points with careless sewing.  But I thought it would be fine when I had all the blocks done.  


The quilt does look good from a distance, but up close, it looks more like mistakes happened.  


This modified Ohio star technique works much better in a larger block.  It is how I made this Christmas quilt, the quilt that elicits the most enquiries on my blog.  I even have a tutorial for how to make the block; see the sidebar to the right on my blog for the full step-by-step process with photos.  


If I make this pattern again, I will go back to the sawtooth star blocks.  But I don't regret what I did.  I've made a lot of quilts; I don't love them all equally, plus it is important to try new things and take the occasional design risk to grow as a quilter.  


photo signature_zps7mcw44cc.png


Tuesday, January 1, 2019

My Stars, the Creative Grids Flying Geese Ruler

Wow, I see it has been five months since my last post.  Having a full time job, quilting, and blogging about it are really not compatible.  I think the job might have to go.

New Year, New Project!   I'm making Aurora by Laundry Basket Quilts, and I need about a bajillion 4" sawtooth stars (well, okay, I need 127).  I have 75 made.


Edyta Sitar demonstrates how to make this quilt in a YouTube video.


But I used a new-to-me method to make the flying geese units.  This method starts with two squares so is very handy if you are using charm squares, it is a little odd, but the units get trimmed to the correct size and this helps a lot with accuracy so I gave it a try.  It has worked well for me; the directions are here.


I wanted a 1" by 2" Bloc Loc ruler but couldn't find one, even online (they may have been out of stock on this size at the time because I think they do make it).  Instead, I got the Creative Grids Ultimate Flying Geese Template and Quilt Ruler.  I like it, it the best ruler for flying geese blocks in multiple sizes that I've found yet.  And Creative Grids has a video to explain how to use it.


So I'm in business, just 52 more stars to make!


 photo signature_zps7mcw44cc.png

Wednesday, September 2, 2015

A New Blankie for Back to School

It's back-to-school time.  Mr. Main Street started back last week with faculty meetings and I'll drive Miss Main Street back to Skidmore on Labor Day.

Years ago, I made Miss Main Street a cuddle blanket/lap blanket out of Minkee and flannel.  She took it to college with her to cuddle with while watching TV.  The years have not been good to the flannel side, which was splitting at the seams and had generally seen better days.  A new one was in order.


The light blue plush is Minkee Dot and the print is a cozy flannel. I got both pieces at Yoder's in Shipshewana, IN, a stop on one of my trips to Chicago this summer.  (If you are in  the area, this store is worth a visit.  Only a short detour from US 80/90 in northern Indiana.)


I followed a tutorial from Missouri Quilt Co, called The Self Binding Receiving Blanket except I increased the size to 45" by 60".  Jenny provides great instructions and it is pretty fast to make. It is even easier when you use two pieces of flannel.  The Minkee fabric is a bit tricky; it is a knit and wants to stretch and curl.

Wednesday, December 31, 2014

Tutorial For Sewing Partial Seams

I used a partial seam technique to sew the center square in the star block below.  This is a handy technique to know when you want the strips on all sides of the center square to be the same length. 
(When this is not a concern, of course you can sew strips to two opposite sides of the square then longer strips to the other two sides.)


The center of the star is 6" finished.  I wanted my center square to be framed by 1" strips so I cut the center square 4.5" and cut my framing strips 1.5" wide and 5.5" long.  You start by sewing the first strip to one side, sewing only part way along - at least 1" but not more than halfway.  As you can see, the strip extends past the square. 


Fold the first strip back into place and fingerpress about one inch along the seam. I normally press with an iron but find fingerpressing works best for this step. Line up your second strip along the edge of the square and the first framing strip across the partically sewn seam.  Sew in place and press. 


Add the third and then the fourth strip in the same manner.  After the fourth strip is added, you will sew the remaining part of the first seam.


This is when it helps to have finger pressed rather than ironed as you need to fold the piece back down so right sides are together.  Sew in place, overlapping the end of the first stitches. 


Now you can press in place and the center of your block is done.


Then go make some more!

Thursday, November 13, 2014

The First of Some Little Projects - Pillowcases

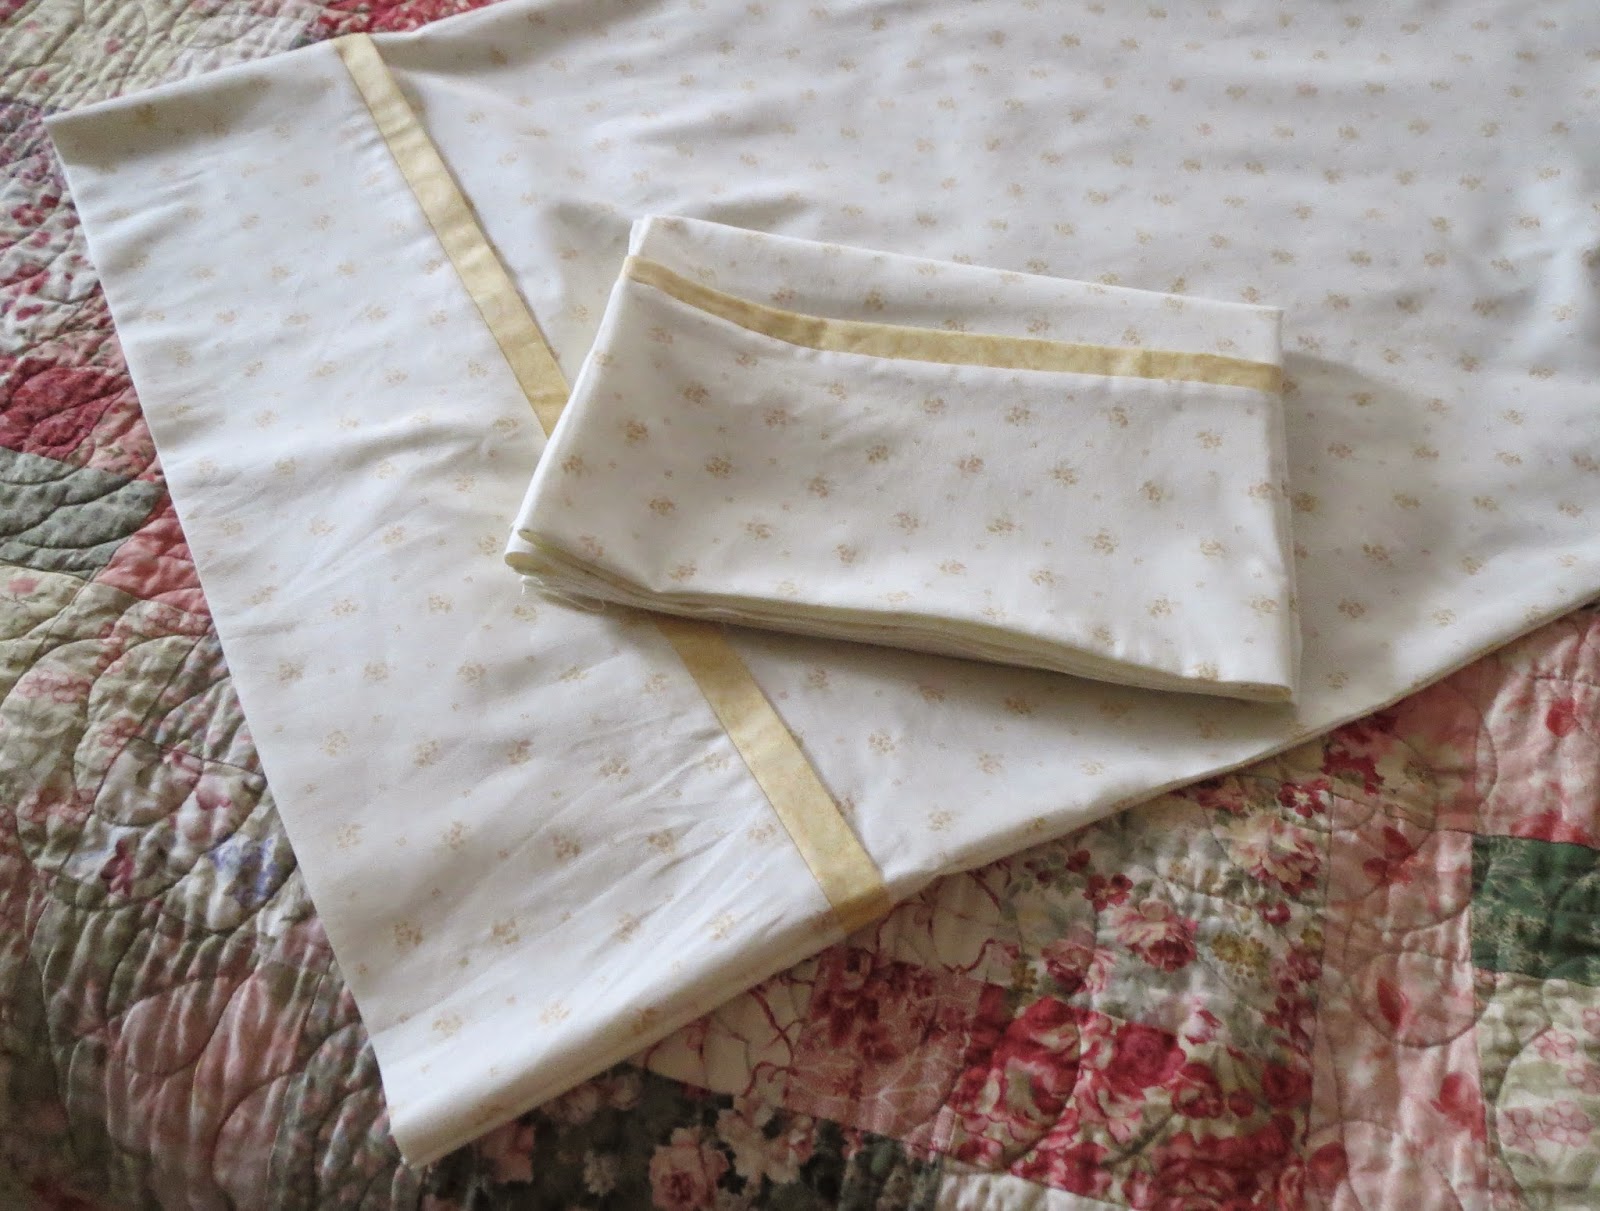
Before I start my next big quilting project, I'm going to work on some little things.  First up, some pillowcases:


I made a set to match my Double Wedding Ring quilt (currently at the longarm quilter's place).  I use the tube method of construction, then finish with French seams.  Missouri Quilt Co has a video tutorial on YouTube.


These pillow cases are very easy and fast.  You can whip up a few sets in no time!


Thursday, June 26, 2014

Baby Shower Gift

One of our nieces is having a baby in August.  She and her husband are both big fans of the Stars Wars movies so when I found out there is licensed Star Wars fabric available, I knew I had to make something for Baby.  When I stumbled across Missouri Star Quilt Company's tutorial for the self-binding baby blanket, I found the perfect gift.  Are you aware of the tutorials from Missouri Star Quilt Co?  They are wonderful!  This company is a family affair, based in a small town in Missouri.  Jenny does the tutorials and she is a great teacher and entertaining as well.  She reminds me of Julia Child, not fazed by anything that happens, keep the camera rolling!  If you are looking for a tutorial for something quilty, Missouri Star Quilt Co. probably has one.

The construction of the baby blanket is exactly the same as the napkins I made a while back and is very fast and easy.  I used a piece of black and white flannel with the Star Wars logo and a piece of quilting weight cotton depicting various contraptions (sorry, not familiar with the technical terminology) from the movies. I whipped up two blankets in an afternoon.  (In the photo, the blanket is folded in quarters.) 

 
You can see what the mitered corner looks like below.  Don't be afraid; super easy...just follow the directions in the tutorial. 
 

While I'm sure the parents are going to love the Star Wars theme, if I was making a blanket for another recipient, I'd go with this or this or this.  A couple of custom blankets paired with some board books and I am ready for the baby shower!

Tuesday, February 18, 2014

Curved Log Cabin Block


Here's my first block.  It is 9" finished.


My original plan was to make one of the quilts from Extraordinary Log Cabin Quilts, by Judy Martin.  But the more I looked at the designs, the more intimidated I became.  And I wanted to use my Fig Tree Quilts stash, which wasn't going to work for my two favorite designs from the book, Grandpa's Log Cabin and Main Street Log Cabin.  So I decided to try a more basic curved log cabin instead.

Thank you, Internet!  How did we live without Google and Pinterest?!  I found cutting directions for the block from Quilty, as well as this video tutorial with Mary Fons on YouTube.


Just one problem!  The cutting directions are incorrect!  The longest log cut from print fabric should be 8.75", not 8.25".  Unfortunately, I found this out as I was sewing my first block, AFTER I cut all the pieces.  I now have 80 cut pieces that are too short and I already cut almost all the fabric I have in my chosen color combination.  I can always trim down those too-short pieces to work in other positions in the block but I cannot magically add half an inch.  Very upsetting.  I did manage to pull together 50 of the 80 pieces I need from the fabric I still had in the basket but have to figure out what to do about the remaining 30 pieces.

Other than that one rather major problem, the blocks are going together beautifully.  I like this method of cutting all the logs to size.  While I spent a lot of time cutting upfront, the blocks will go together pretty quickly now.


Thursday, October 17, 2013

A Tip For Applying Sashing

I finally got some quality time at the sewing machine, putting my Jubilee blocks together with the sashing.  Per the pattern, the sashing is cut 2" wide and does not have cornerstones (the little squares at the intersections of the horizontal and vertical sashing strips).


In the past, I've experienced some problems applying the sashing and getting the blocks perfectly aligned.  Even if misaligned less than a quarter inch, it can look "off" and make trouble for your planned quilting design.  And while often these little problems disappear in the quilting, I discovered a little trick that makes it easy to line up your blocks and sashing perfectly.  I don't even miss the cornerstones anymore.  

 
See that wonderful alignment!

At this point, I've attached the vertical sashing strip to each block and sewn the blocks into rows.  The next step is to sew the rows together with a long sashing strip between each row of blocks.  I cut the sashing strip the proper length, in this case 83", then use a marking pencil (use your marking implement of choice) to mark where the horizontal sashing should match up with the seams in the vertical sashing.

 
For this quilt, the blocks are 10.5 inches square and the sashing finishes 1.5 inches wide, so I made a line 10.75" from the left edge of the sashng strip (the end blocks still have the unfinished quarter inch seam on one side), then a second line 1.5" further to the right.  Then move the ruler 10.5" to the right and make another set of two lines.  Continue marking in this way to the end of the sashing strip.

 
When you pin the sashing strip to the row of blocks, line up the penciled lines with the seam lines and pin (see photo below).  Sew the sashing strip to the row of blocks.  Attach the next row to the other side of the sashing strip, lining up the pencil marked lines with the seams of the second row.  


Voila!  If all goes well, your blocks and sashing come out perfectly aligned. 


You want to be sure that the marking pencil or pen you use either doesn't go through to the right side of the fabric and/or will wash out easily.  No ball point pens or untested markers!  I haven't tried a hera marker for this purpose but it may do the job.

Well, I have lots of quilting to get done.  Not only do I need to finish this project, I picked up two quilts from my longarm quilter and they need binding.  If only I had an extra week between Sunday and Monday!


Tuesday, March 12, 2013

Tutorial For Many Trips Around the World Quilt Block


Many Trips Around the World is a great scrap quilt, especially if you limit your scraps to a defined color palette.  You need lots of scraps, or fat quarters, or pre-cuts.  I can't tell you how much because I did not keep track.  For the lattice (the raspberry color in my quilt that separates the blocks), you will need 2 yards (more for a bed size quilt); get extra if you want to use this fabric for your binding as well.

Start by cutting your fabric into 2" squares and put it little piles close to your design wall. You can use a tray or a cookie sheet or a clean pizza box to hold your piles (keep each fabric in its own pile).

Note that while I cut my fabric into 2" squares, you can use any size, you just have to be consistent.  If you have a lot of jelly roll pieces, charm squares, or you cut your scraps into 2.5" pieces for storage, go ahead and use 2.5" squares.  Your blocks will be bigger.

The other thing you need is a design wall.  A design bed, or sheet placed on the bed will work as long as you don't need to sleep in the bed at night.  This quilt takes some time to put together and it will be frustrating if you have to pack it up each time you stop working on it.  A space where you can leave everything will keep you organized and sane.

Start by placing the fabric squares on your design wall.  Begin with the single square that forms the middle of each block.  I used the same fabric I used in the lattice here but you don't have to.  Take four squares of the same print and place them around the center square.  Add another round of 8 pieces, then a round of 12 matching pieces, then a final round of 16 matching pieces.  Now add your lattice pieces.  The lattice pieces will form the outer edges of the adjacent blocks too. 

Once one block is formed, you keep adding additonal blocks to the right and left, above and below the initial block.  Keep expanding outwards until you have the size you want or have completely covered your design wall, whichever comes first.  I made my quilt in four pieces because I could not fit the whole quilt, prior to sewing, on the design wall.  Keep in mind that it will shrink in size after sewing.

 
To keep the block square you use half blocks at the outer edges.  I did not put a border on my quilt. 


So the big question is, "How do you get from the design wall to manageable blocks you can sew together."  When I first contemplated making this quilt, I thought I would sew the squares together in rows across the entire quilt, then sew the rows together.  I did not initially see how to do it in blocks.  Then I remembered a technique learned many years ago when I was making watercolor quilts.  The lightbulb went on and all was clear!
 
We will construct the quilt in partial blocks of 5 rows by 5 rows, or 25 squares at a time. 

 
And to make it even easier, we'll use fusible, very lightweight interfacing as a foundation for each block.  This will make the sewing easy, fast, and accurate.


Pellon makes a product called Quilter's Grid, a very lightweight fusible interfacing printed with a 1" (or 2") grid.  I bought my supply at Joann's.  Use the size of your quilt before sewing to figure out how much of this you need - it is 40" wide.  I used about 3 yards.

If you can't find this product, don't despair.  The grid is printed in yellow and I could barely see it.  I think it would work equally well if you used the lightest weight fusible you can find and lightly draw a pair of perpendicular lines with a ruler and pencil.  Use these lines to line up your squares.

My partial block - five 2" squares by five 2" squares - measures 10" so I cut my pieces of fusible 9.5" square.  (I added an extra square to the end of each row to make the overall look more symmetrical and complete. That's why Ihave 41 squares across and down. This means the last block in each row will be 5 by 6 squares, the bottom row of blocks in the quilt will be 6 by 5 squares and the lower right corner block will be 6 by 6.  So you will need to cut some pieces of infacing 9.5" by 11.5" and one piece 11.5" by 11.5 ".)

Transfer the block, wrong side of fabric to fusible (sticky) side of foundation, being careful to line up the squares precisely.  The top and bottom rows of squares will protrude 1/2" off the fusible, as will the outer left and outer right vertical columns of squares. 


Once you have all the squares in the block lined up on the foundation, fuse with iron per the directions that come with the fusible.  Be careful to pick up and set the iron down, rather than pushing it around, so you don't move any squares out of place.


The next step is to begin sewing.  Fold the block along a seam, finger pressing a crease in place.  If you fused the squares down in alignment, the edges will all line up.  I did not pin at this stage.
 
Sew each seam using a quarter inch seam allowance and back stitching 2 or 3 stitches at the beginning and end of each seam.  (In the photo below, you can see that the left and right patches extend beyond the edge of the fusible foundation.)


Sew all four vertical seams in the block in this fashion.  Your piece will look like this (photo below).  Using your rotary cutter and ruler on a cutting mat, cut the finest sliver you can from the crease of each seam.  This will cut the seam open so you can press it. 


Press the seams open; pressing the seams open reduces the bulk and helps the block lie flat.  Then repeat this process for the seams in the other direction.  Fold the fabric along the line between two rows of square patches, finger press a crease, and sew.  Be sure to keep the seams straight so the patches line up with each other.  You can use pins at this stage but I did not need to.


Again, trim the tiniest sliver off each crease and press the seams open.   From the right side, your blocks will look like this (photo below).  The corners of the individual square patches should match perfectly.  If you cut your squares 2", your block will now measure 8" square.  It will have shrunk 2" in size because of the seams. 


You can see below how the block shrinks in size after sewing.


Once all the blocks are made, you need to sew them together.  Sew in rows across the quilt.  Match seams and pin.  Because you cut the fusible foundation an inch smaller than the block, these seams will not have any fusible attached to them.  I continued to press the seams open but at this point of joining the blocks, you can press the seams in alternative directions if you would rather because you don't have the added bulk of the fusible backing.


The photo below shows two blocks that have been joined. 


Sew the blocks together in rows then sew the rows together, in the usual fashion.  Your quilt top is finished!


I'm thinking of making another Many Trips Around the World quilt in red, white, and blue.  How about Minick &Simpson's Indigo Crossing fabric collection?

Monday, February 25, 2013

More About Rendezvous

Gosh, thank you all for your kind comments about Rendezvous, my pineapple block quilt.  My last post showing this finish resulted in lots of questions about how I constructed this quilt.  I'll try to answer those here but you may also want to go back and read my post on using the pineapple ruler.

For fabric, I started with a fat quarter bundle (Rouenneries Deux by French General for Moda).  Some of the prints were too large or otherwise unsuitable; I used 30 from the bundle and added more from my stash plus a few new purchases. 

 
My quilt is 68" square (49 blocks, arranged 7 by 7).  For this size, I estimate you need:
  • 18 fat quarters of red
  • 15 fat quarters of lights
  • 9-11 fat quarters of taupe for the blocks that make the outer edges
  • a half yard of red for the center squares
  • 3/4 yard for binding
I say "estimate" because I was not keeping track of fabric usage at the time of construction.  I pulled some fabric from my stash and ordered some online in half yard cuts.  I have about half of each half yard piece left but only small strips from the fat quarters. 
 
You construct the pineapple block in rounds, starting with the center square (similar to making a log cabin block).  The size of the block depends on the width of your strips and how many "rounds" you have.  I cut my strips 1.5 inches wide (1" finished) and my center blocks 2.5 inches square (2" finished).  My blocks are 10" square. 
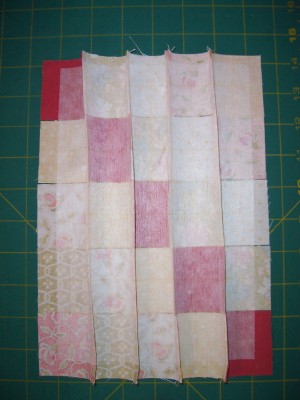

The distinctive design is formed as you put the blocks together.  The red square is the center of each block while the last pieces are the red triangles in each corner.  (For contruction, the corners are cut as strips than trimmed after sewing.)  I constructed one block as a test, then chain pieced 4 to 6 at a time thereafter. 

 
I got the idea for the taupe border from a photo I saw on Pinterest.  From analyzing the photo, I realized the border was formed by different color placement in the blocks forming the outer edge.  I had the center red blocks on the design wall and pieced the outer blocks two at a time, basically just visualizing where the red needed to go and where to put the taupe strips.  Once you have the first round of color strips on the block, it is easy to follow with the rest of the rounds.


I made 49 blocks and put them together in a square, 7 blocks by 7 blocks.  Just add or subtract blocks for a larger or smaller quilt.  You can make your blocks larger than mine by adding more rounds of strips to each block.  Nicole at Sister's Choice is working on pineapple quilt using 12" blocks, achieved by one additional round of strips.  And you can put the blocks in a rectangular setting if you prefer.

Making the blocks is not difficult but you do have to be careful.  Each time you trim, you get a bias edge and the blocks can become distorted or mis-sized if you pull on the bias edges too much, something that can happen unintentionally when you iron.  (Lift the iron and press, rather than moving it around on the fabric.)

I hope this has been helpful.  I look foward to seeing many more pineapple quilts out in Blogland!