


In the past, I've experienced some problems applying the sashing and getting the blocks perfectly aligned. Even if misaligned less than a quarter inch, it can look "off" and make trouble for your planned quilting design. And while often these little problems disappear in the quilting, I discovered a little trick that makes it easy to line up your blocks and sashing perfectly. I don't even miss the cornerstones anymore.

See that wonderful alignment!
At this point, I've attached the vertical sashing strip to each block and sewn the blocks into rows. The next step is to sew the rows together with a long sashing strip between each row of blocks. I cut the sashing strip the proper length, in this case 83", then use a marking pencil (use your marking implement of choice) to mark where the horizontal sashing should match up with the seams in the vertical sashing.
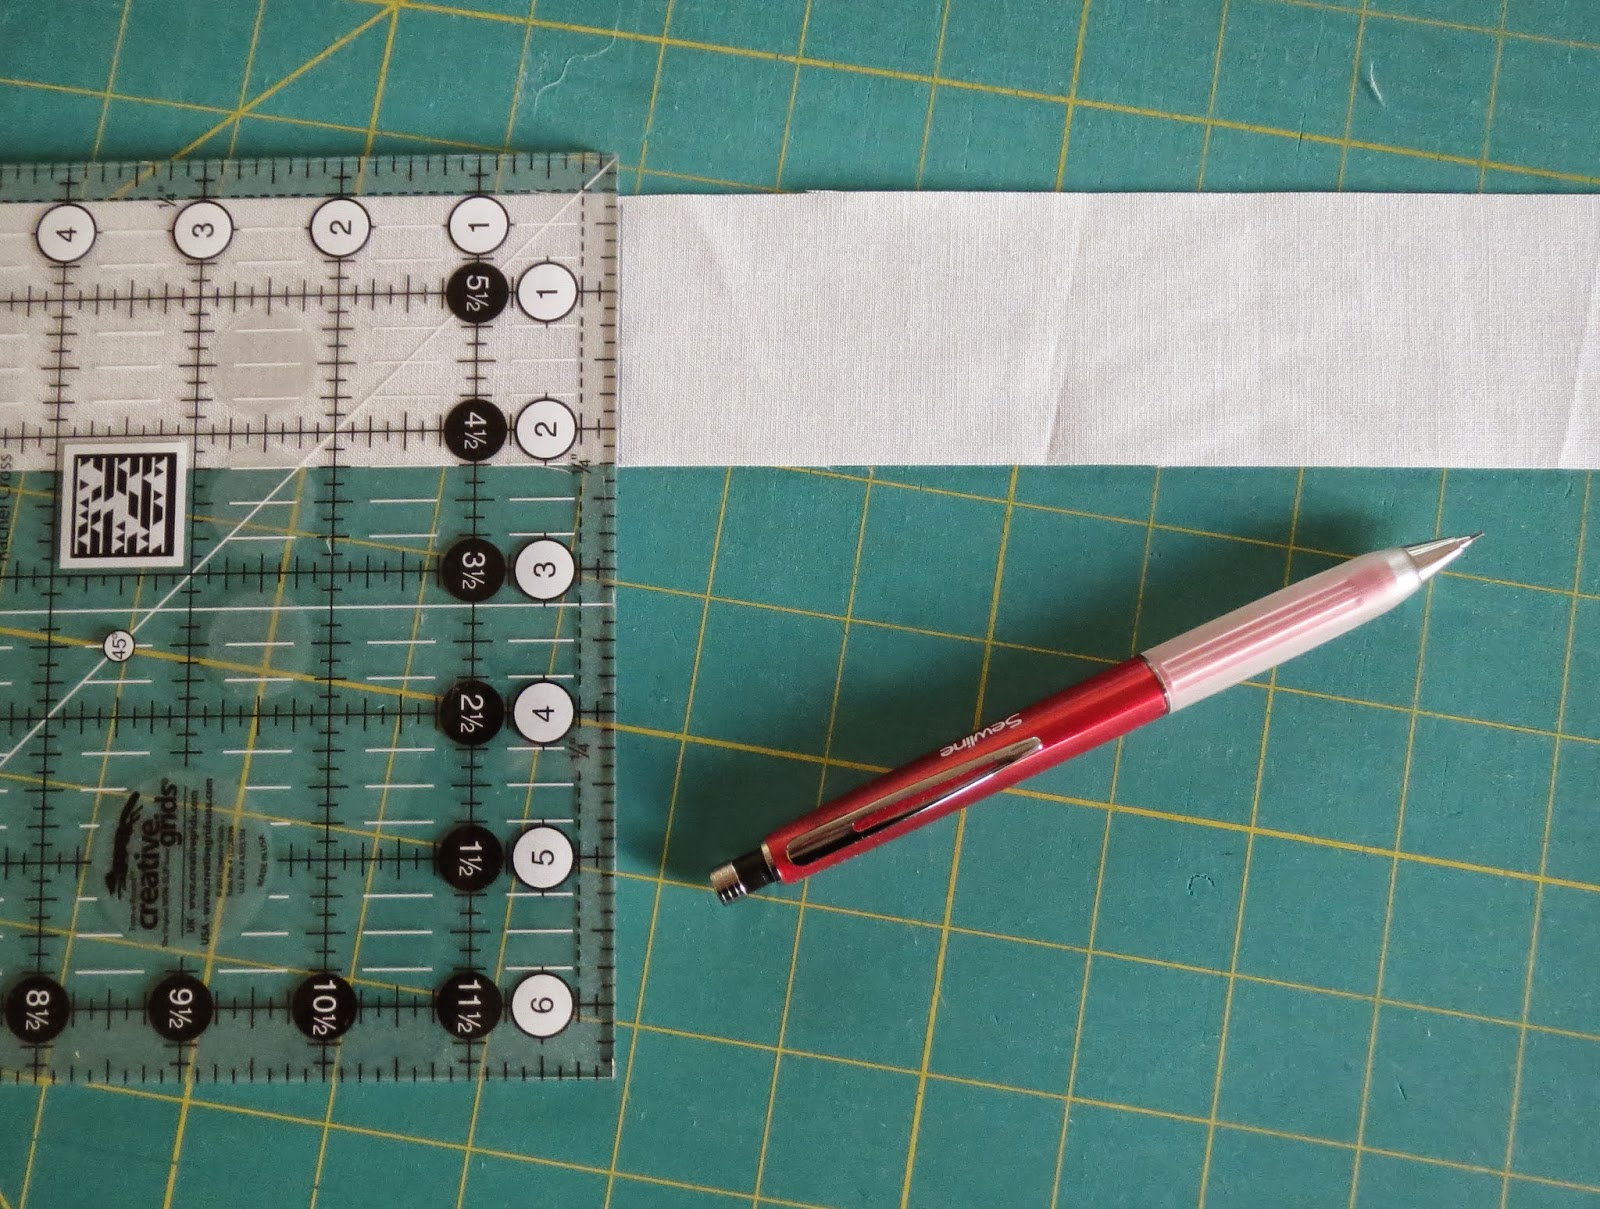
For this quilt, the blocks are 10.5 inches square and the sashing finishes 1.5 inches wide, so I made a line 10.75" from the left edge of the sashng strip (the end blocks still have the unfinished quarter inch seam on one side), then a second line 1.5" further to the right. Then move the ruler 10.5" to the right and make another set of two lines. Continue marking in this way to the end of the sashing strip.

When you pin the sashing strip to the row of blocks, line up the penciled lines with the seam lines and pin (see photo below). Sew the sashing strip to the row of blocks. Attach the next row to the other side of the sashing strip, lining up the pencil marked lines with the seams of the second row.

Voila! If all goes well, your blocks and sashing come out perfectly aligned.

You want to be sure that the marking pencil or pen you use either doesn't go through to the right side of the fabric and/or will wash out easily. No ball point pens or untested markers! I haven't tried a hera marker for this purpose but it may do the job.
Well, I have lots of quilting to get done. Not only do I need to finish this project, I picked up two quilts from my longarm quilter and they need binding. If only I had an extra week between Sunday and Monday!


I finished sashing my Jubilee quilt last week - wish I had waited to read your tip, as it would have made putting the rows together much easier. I am loving my quilt, but am agonizing over the borders right now. I need more of them, since I only used thirty blocks and my quilt is queen size. Hope to get the last border on today, then start the backing. Love your quilt.
ReplyDeleteI've been doing the same thing to mark the sashing when I run into this situation. It is great advice!
ReplyDeleteFantastic tip. Lining those blocks up can be a real bugger.
ReplyDeleteGreat tip. One to use very, very soon.
ReplyDeleteThanks for the tip! I always have trouble sewing long sashing strips without cornerstones but I'm going to try this method the next time.
ReplyDeleteGreat idea Cathy!
ReplyDelete