Friday, October 25, 2013

Blogger's Quilt Festival - Pineapple Two-Color Quilt

My entry in this fall's Blogger's Quilt Festival is my only two-color quilt, Rendezvous.

 
I am absolutely smitten with the fabric lines from French General.  I looked for a design that would make the most of the colors in this fat quarter pack from the Rouenneries Deux collection and settled on the pineapple block to combine the various shades of red with the neutrals.

 
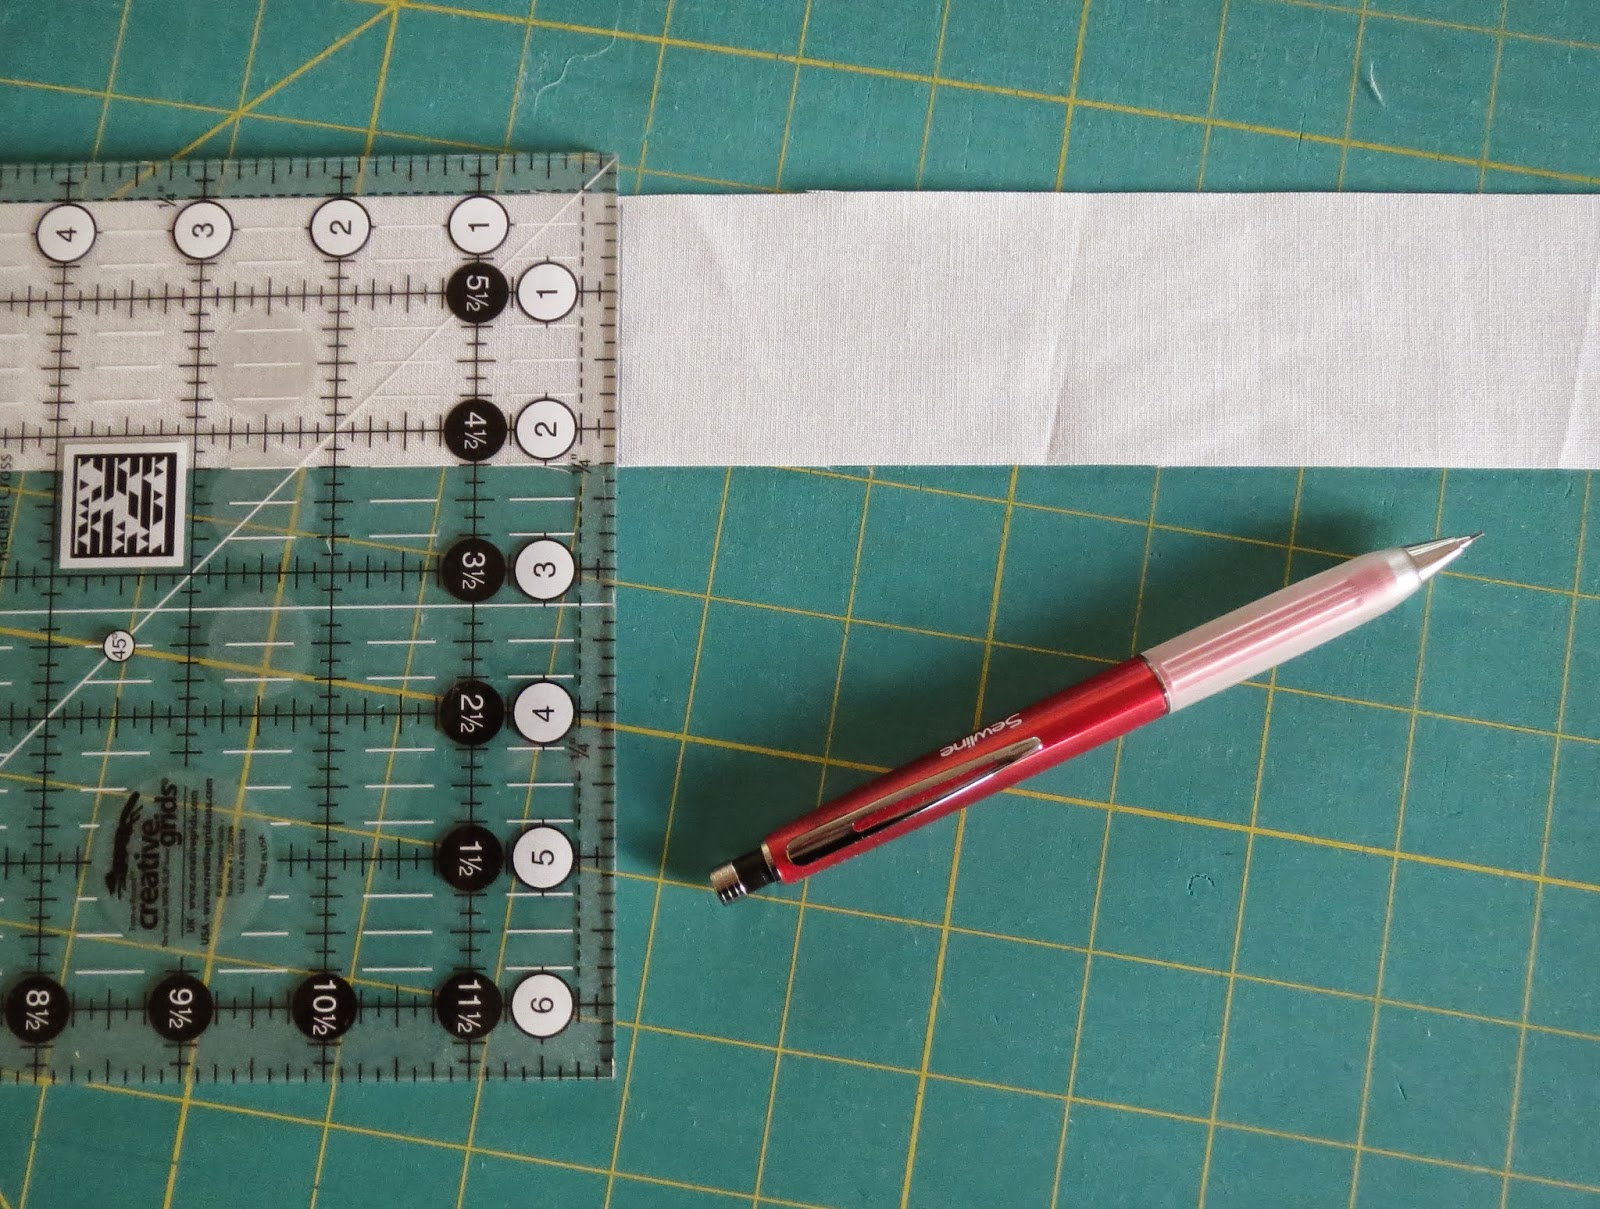
The pineapple block is made in rounds, similar to the construction of the (much easier IMO) log cabin block.  I cut my fabric into 1.5 inch wide strips and used a special pineapple ruler to trim and square up the block after each round.  (You can read more about the ruler and how to use it in my post here.)
 
 
Working on five or six blocks at a time, the quilt gradually began to take shape on my design wall.  I reserved the darker toned neutrals for the blocks that would form the outer border of the quilt; in this way, what you see as the border was formed by color placement in piecing the blocks.

 
Here is a photo of part of the finished quilt, where you can see how the border turned out.
 
 
Rendezvous was quilted by a long arm quilter, Karen Thompson, using a traditional French motif, the fleur-de-lis.  You can see it more clearly in the second photo below, where the motif ran off the edge of the quilt into the surplus batting.  Of course, this was trimmed off to apply the binding.


For backing, I used a red-on-sand floral print from one of the French General fabric lines.

 
Here's the finished quilt again.  Rendezvous is 68" square (49 blocks, arranged 7 by 7), perfect for a throw quilt on the couch. 
 
 
I'm entering Rendezvous in the Two-Color Quilt category in Blogger's Quilt Festival.  Click over to Amy's blog to see lots more quilts in the biggest quilt show online!

Monday, October 21, 2013

Main Street - My Finished Quilt

We visited Miss Main Street at college this weekend so I didn't have much time for sewing.  But  I finished the binding on this little (31" by 36") wall hanging on Sunday night and it is now hanging in our kitchen.


I'm calling this quilt Main Street, which is the actual name of the street where we live.  I made this quilt using a Schnibble pattern called Full House, altering it only to include the trees. 

Karen Thompson of Poppycourt quilted Main Street for me in a custom design.  She made shingles in two different styles for each roof...


...added some texture to the trees...

 
...and quilted a simple cross hatch in the "sidewalks."  There is also a gorgeous feather-like vine in the border but it did not photograph well.


It looks perfect hanging in our kitchen.  Main Street is my first Schnibble but won't be my last!


Thursday, October 17, 2013

A Tip For Applying Sashing

I finally got some quality time at the sewing machine, putting my Jubilee blocks together with the sashing.  Per the pattern, the sashing is cut 2" wide and does not have cornerstones (the little squares at the intersections of the horizontal and vertical sashing strips).


In the past, I've experienced some problems applying the sashing and getting the blocks perfectly aligned.  Even if misaligned less than a quarter inch, it can look "off" and make trouble for your planned quilting design.  And while often these little problems disappear in the quilting, I discovered a little trick that makes it easy to line up your blocks and sashing perfectly.  I don't even miss the cornerstones anymore.  

 
See that wonderful alignment!

At this point, I've attached the vertical sashing strip to each block and sewn the blocks into rows.  The next step is to sew the rows together with a long sashing strip between each row of blocks.  I cut the sashing strip the proper length, in this case 83", then use a marking pencil (use your marking implement of choice) to mark where the horizontal sashing should match up with the seams in the vertical sashing.

 
For this quilt, the blocks are 10.5 inches square and the sashing finishes 1.5 inches wide, so I made a line 10.75" from the left edge of the sashng strip (the end blocks still have the unfinished quarter inch seam on one side), then a second line 1.5" further to the right.  Then move the ruler 10.5" to the right and make another set of two lines.  Continue marking in this way to the end of the sashing strip.

 
When you pin the sashing strip to the row of blocks, line up the penciled lines with the seam lines and pin (see photo below).  Sew the sashing strip to the row of blocks.  Attach the next row to the other side of the sashing strip, lining up the pencil marked lines with the seams of the second row.  


Voila!  If all goes well, your blocks and sashing come out perfectly aligned. 


You want to be sure that the marking pencil or pen you use either doesn't go through to the right side of the fabric and/or will wash out easily.  No ball point pens or untested markers!  I haven't tried a hera marker for this purpose but it may do the job.

Well, I have lots of quilting to get done.  Not only do I need to finish this project, I picked up two quilts from my longarm quilter and they need binding.  If only I had an extra week between Sunday and Monday!


Monday, October 14, 2013

What's On Your Bucket List?

Yesterday, on Moda's The Cutting Table blog, they ran a post on the quilting bucket lists of a few of the Moda designers.  Pretty interesting, everyone has one quilt they long to make but haven't started yet.  I have three, and it is the intimidation factor that keeps me from even starting. 

My quilting bucket list includes:

A double wedding ring or pickle dish quilt -   I'm seriously considering this for the near future but need to decide on a color scheme or fabric selections.  I found this video explaining the Creative Grids ruler, to use with or without foundation paper.

Orange peel or Joseph's coat - The need to applique all those curves has me intimidated.  This tutorial for the Joseph's coat version is an option but I'd prefer to have an acrylic template for the melon slice piece.

Floral appliqued border - I want a lavish floral border on a simply pieced center.  I haven't found a pattern for exactly what I want yet, which is fine as I don't have the skill to tackle it yet.  I need to work on my applique skills with a smaller project first.  Plenty of time!

 What's on your list?

Tuesday, October 8, 2013

McCalls Quilting, Christmas Edition

While at my LQS on Saturday for their holiday open house, I picked up the latest issue of McCalls Quilting.  The Nov/Dec issue is usually my favorite and a glance through convinced me this issue promised good stuff.  (I haven't read it yet; yes, busy, busy.)


Last year's issue includes directions for machine appliqued placemats.  I'm seriously considering giving these a try after seeing them on display at the open house.  I think I can find the materials in my stash but Pennington Quilt Works has a kit for sale for the placemats and/or table runner.


This is what the 2012 issue with the placemat instructions looks like, in case I have convinced you to search through your magazine collection.


Sunday, October 6, 2013

A Week Of Not Quilting and A Trip to the Quilt Shop

I have unintentionally become a weekend quilter.  Too much work to get to the sewing machine during the week and not much done on the weekend either.  I have made progress on Jubilee but not enough to bother showing in pictures.

I spent what little time I had in the evenings this week planning our next vacation and reading a novel, The Light in the Ruins, by Chris Bohjalian.  Very good, I highly recommend it.  I stayed up until 1:30 am on Friday to finish it!  I also enjoyed his previous book, The Sandcastle Girls

By Saturday, I had to have some quilting exposure (vitamin Q as May Britt of Abyquilt calls it) so visited my LQS, Pennington Quilt Works, for their annual holiday open house.  At this event, they have all their special Christmas and winter themed offerings on display; mostly quilt projects they have kitted up.  It is always good for some inspiration. Take a look...

 
Very impactful design and I like the inclusion of the aqua fabric.


The tree is a panel, surrounded by pieced stars. 
There are lights on the tree that really light up. 


I like these placemats, from the Nov/Dec 2012 edition of McCalls Quilting.


Some smaller wall hangings.  I like the one that says "Merry Christmas." 
I think it could be turned into a pillow.
 

I didn't buy a kit but I did find some green fabric I like so stocked up for a quilt I have in mind.  I don't often care for batiks but the batik with the snowflakes is to die for.


By the way, if you are interested in any of the projects shown above, they are available as kits from Pennington Quilt Works.  Most are on their web page here, but if you don't see it on the website, give them a call at 609-737-4321.  The store is staffed by very helpful quilters and they do ship.