Friday, December 11, 2020
12 Days of Christmas Quilts - Day 1

Thursday, December 10, 2020
Moving On To Christmas Sewing
I'm making tiny sawtooth stars.
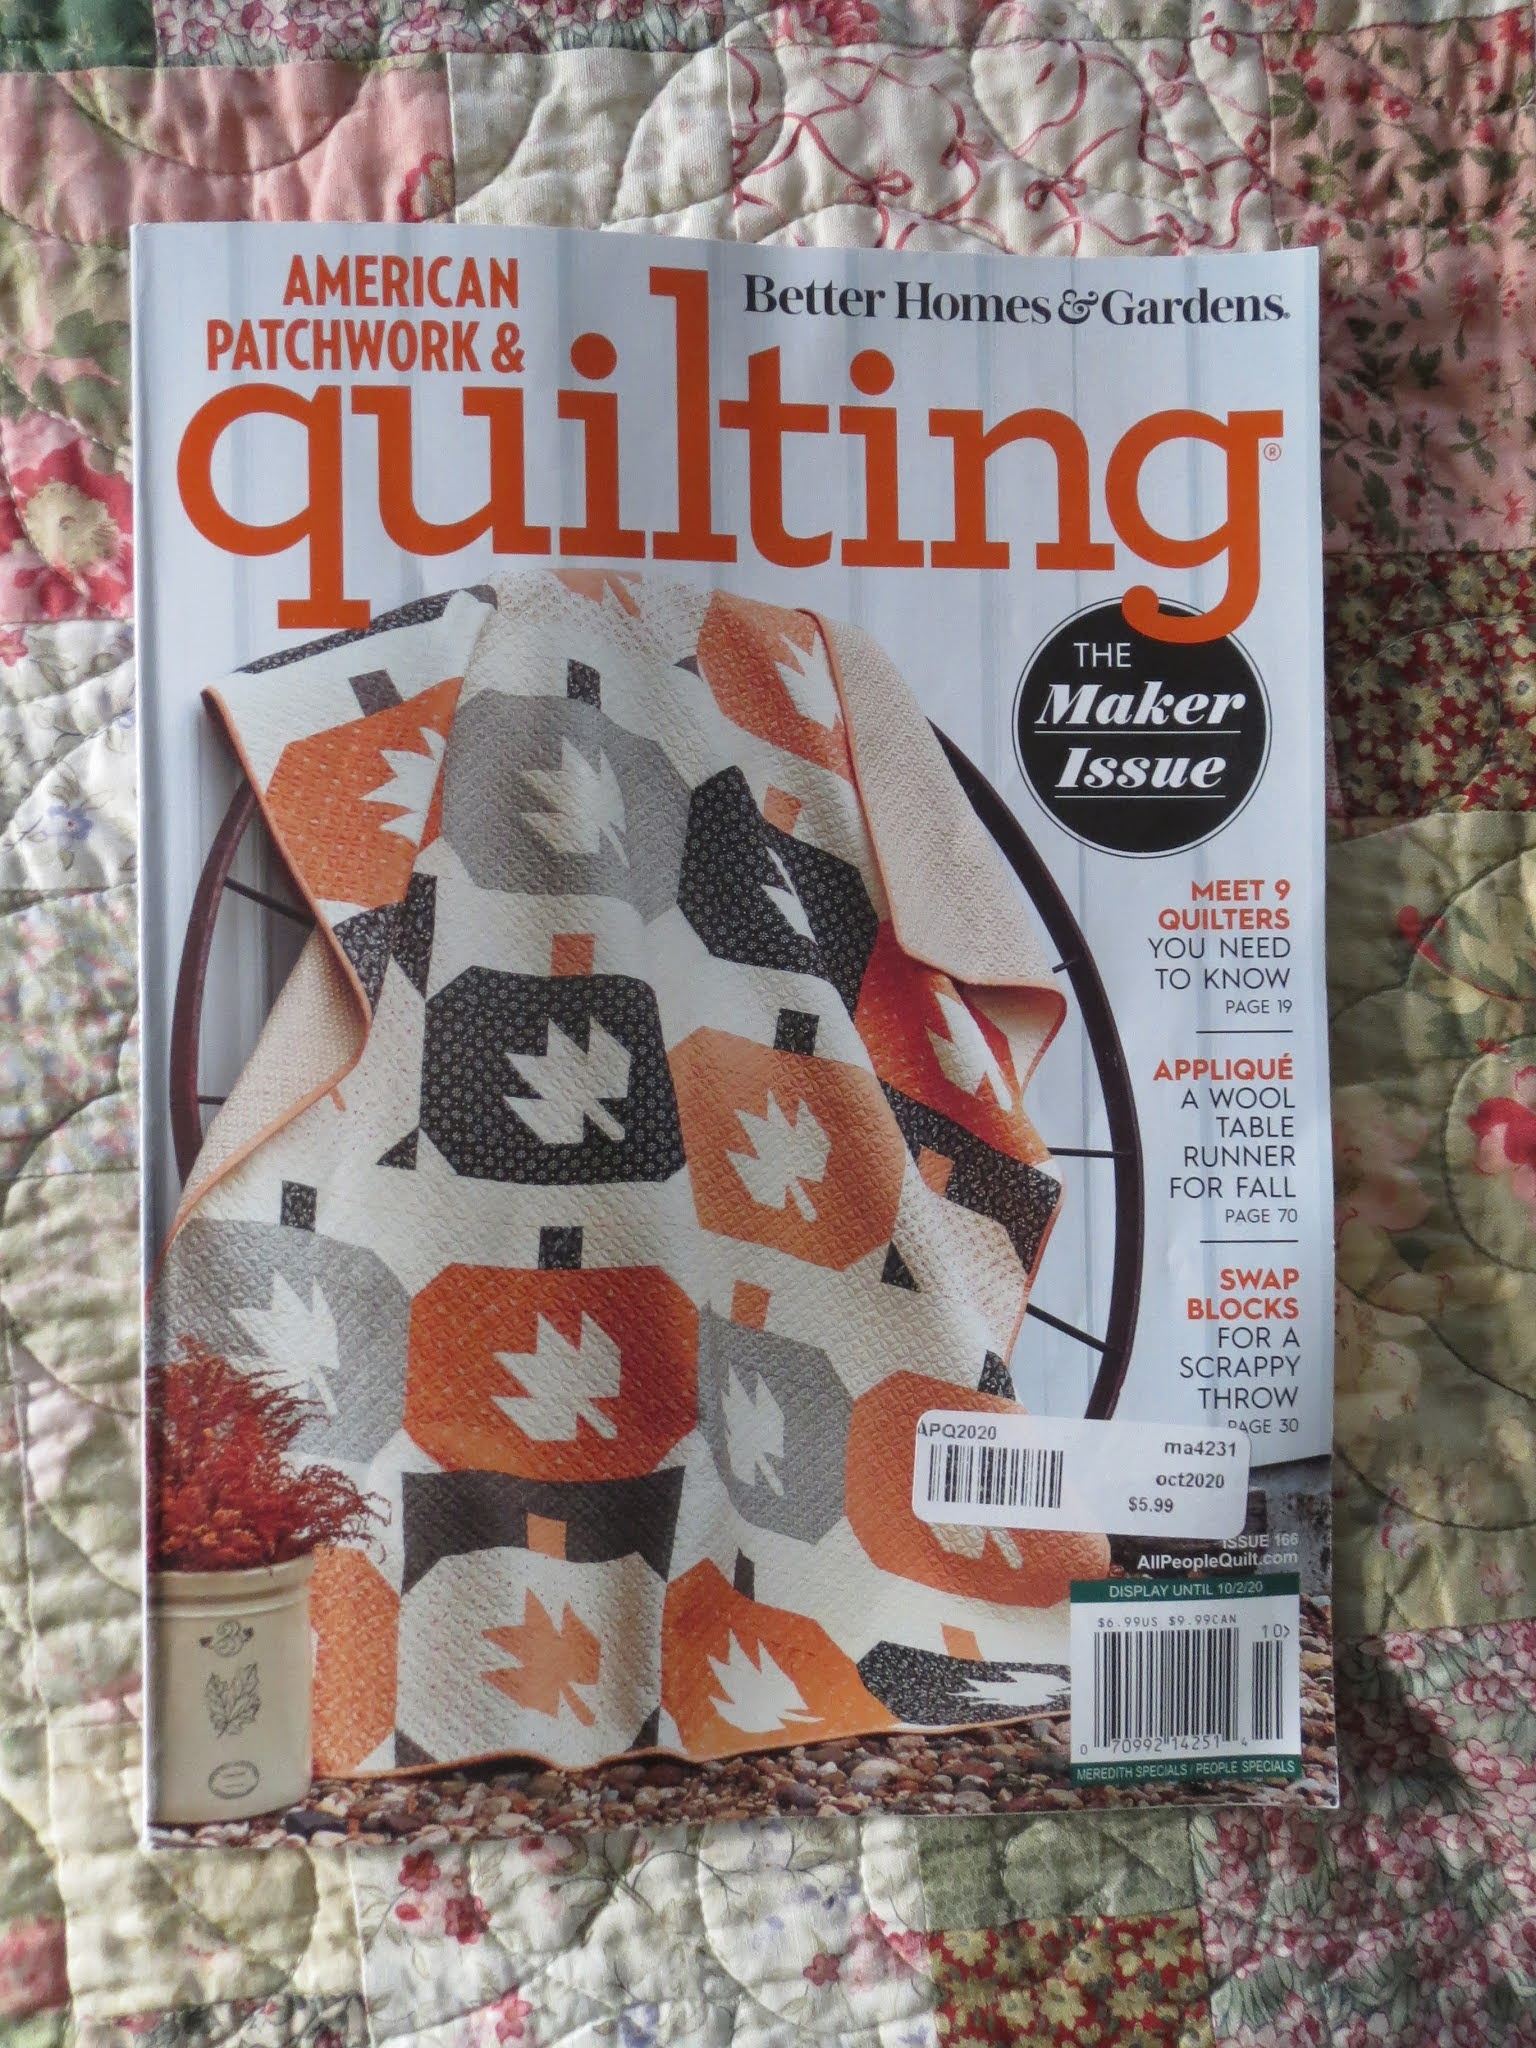
I saw a quilt design called Star Struck in the October issue of American Patchwork & Quilting. It's by Sherri McConnell of aquiltinglife.com and was made in her latest fabric line for Moda called Balboa.
While very pretty in the Balboa prints, my thought was to make it my own using Christmas-y fabric from my stash. In my sewing room reorganization (see prior post), I uncovered a cache of fabric in a bag, Christmas prints from a line called Jingle All The Way by Nancy Halvorsen. When I write "cache" I mean I have 2.5 yards each of three different fabrics, 1/2 yard each of three fabrics, a jelly roll and a charm pack. Then I found another piece from the line, leftover from backing another quilt. I think this fabric is a few years old and I don't remember what I planned to make when I bought it. Anyway, with the addition of some Kona solid in snow for the background, it was plenty for making this quilt Star Struck.
The stars finish at only 4" and I am getting three out of each jelly roll strip. Given the speed at which I sew, this quilt won't be finished for Christmas 2020 (well, I aim to have the top finished but it won't be quilted) but that's okay because I have lots of Christmas-y quilts to use in my decorating. In fact, I'll be back soon with 12 Days of Christmas Quilts.


Tuesday, December 8, 2020
As Long As You're Going To Target
It's been even longer than I thought! After months of high quilting productivity, I went on a break/slow down. I really needed to give my sewing room a good clean and reorganization. At the beginning of this year, I stated my goal is to whittle down my stash and finish some UFOs. I've been doing that but during the clean up, I uncovered some fabric, kits, and PIGS (projects in grocery sacks - e.g. everything bought for a project, put in a bag, and never started). So I tried to organize my stash to make it all more visible, more clear what I have on hand. And that's where these marvelous baskets/bins from Target came in handy.
These bins came to my attention on Nicole's/SistersChoice blog a few months ago. I messaged her to find out where they came from then set out for Target. The size - roughly 5" by 13" long and 5" deep - is perfect for holding folded fat quarters, charm packs, and jelly rolls. And they are a good size to fit on the shelves in my closet. I started with one and now have six. You can also buy them online here but they ship only as part of a bigger order. So if you are going to Target anyway, check them out. They come in other sizes too.
Once reorganized, I started some Christmas sewing and will be back soon to show you.

Tuesday, September 29, 2020
Great Granny Squared - Finished Quilt
Mabel Mae is my Great Granny Squared quilt, quilted and bound. The pattern is by Lori Holt of Bee In My Bonnet and is easy enough for a beginner. I made it from fabric I had on hand (2020 is my year of stash busting), even the backing and binding are from my stash.
I modified the border design and my quilt is roughly 57" by 70" after quilting.
Mabel Mae was quilted by Karen Thompson using a pantograph design of a leafy vine.
I used a pale green floral for the binding. It puts a stop at the edge without announcing it presence so all the focus is on the blocks.
The backing is a floral/ticking stripe combination, likely added to my stash when I was in my shabby chic/cottage design phase.
I asked for name suggestions when I showed you the finished top and Ellen in Oregon's suggestion of Sweet Granny got me thinking why not name the quilt after one of my great grandmothers.
Mabel Mae Roberts Briggs Seger was my mother's maternal grandmother. My mother is the child in the photo below, with her mother, her two grandmothers, and the three great grandmothers that were still alive at the time (this must have been taken in 1936); Mabel is on the far left in the back row. Mabel was born in 1883 in Wolverine, Michigan, a logging town in the northern part of the lower peninsula. She married Joseph Briggs in 1903 and had three daughters; the eldest, Ruth, was my grandmother. They moved to Lansing around 1914 and opened a dry goods store. After Joseph died, Mabel continued to run the store and later, was married again, to Art Seger. Mabel died in 1958.
Mabel was a quilter and her quilts were well-used so few have survived to today, but my mother does have a few. My grandmother sewed as well but once the Depression and World War II were over, and consumer goods were back in stores, they did not do much sewing as they associated it with having to "make do" and felt they did not need to do that any longer. My mother is a great cook but never liked the sewing part of home economics; when I see her, she often has something for me to fix or a pair of pants to hem shorter. When I was in junior high, all the girls had to take home ec (the boys had workshop) and I enjoyed the sewing part. In the lead up to the bicentennial in 1976, there was a refocus on traditional Americana, including quilting, and that's when I became interested, though I did not get totally immersed until about 1992, and obsessed shortly thereafter.
An aside about the family photo above. When I worked in the skincare industry, I used the picture to illustrate how expectations of aging have changed. The three great grandmothers in the middle of the back row were in their early and mid 70's at the time the photo was taken. The two grandmothers were 53 and 55. All I can say is thank goodness I have tretinoin, sunscreen, and advanced moisturizers!

Wednesday, September 23, 2020
Sewing Bags and Bins - Part 3 - Lola Pouch by Sotak Patterns
A zipper bag seemed like a natural companion for my Sierra Bin but there are so many patterns out there. After much review online, I chose the Lola Pouch by Sotak Patterns, and purchased the pattern as a download from the Etsy shop. I was drawn to this pattern because it seemed fairly simple but with no exposed seams inside or need for a serger (I don't have a serger) and that I could use two fabrics to coordinate with my bin.
The instructions were very easy to follow, with explanations and "pro tips" that helped the construction process go smoothly. Even the zipper installation was easy. I used my machine's zipper foot for the zipper and the binding (the binding encloses the zipper tape and the top raw edge of the bag), though the instructions don't call for it so if you don't have one, you will probably be okay. The small bag went together quickly so I decided to make the large bag too. These bags are lined and I learned a "pro tip" that helps the lining fit smoothly; I'll be applying that tip to all future bags (it involves making the seams of the lining 1/8" deeper than the outer seams, so the lining is that tiny bit smaller than the outer bag - it worked perfectly).
The small bag holds spools of thread I purchased to match the fabric I'm using in my Flowers for Emma hexagon flowers. The zip bag can go right inside my Sierra Bin. The "handmade" zipper pulls are from Fat Quarter Shop; only $2 apiece! I used light weight interfacing in the zip bags; the pattern doesn't call for batting but you could add it if you want the padding.
Now I understand about the zipper bag addiction and will no doubt be making more.
This is the end of my sewing bags and bins series. I'm well supplied and organized, and will be back next week with a finished quilt.


Tuesday, September 22, 2020
Sewing Bags and Bins - Part 2 - Sierra Bin by Indigobird
I bought the pattern from the Indigobird website as a pdf download. BTW, I've bought pdf download patterns a number of times, from Etsy and from independent designer sites, and never had a problem...just in case you've been wondering about it.
I had a piece of chambray fabric in my stash that I thought would be perfect for this bag. It's a lightweight upholstery fabric remnant I bought years ago, it's been sitting around waiting for a project to come along! It looks quilted but it is actually some kind of bonding that gives the quilted effect. I needed some contrast trim and lining fabric, and again, ransacked my stash.
The measuring twill tape is backed by a small piece of Liberty cotton, purchased from Spotweldon on Etsy. I used a whimsical Union Jack heart print for the lining.
The lining is created with a series of pockets round the inner walls of the bin. They are perfectly sized to hold small items like little scissors, a needlebook, small tin of Wonder Clips, etc.
The design and pattern for the Sierra Tote + Bin is extremely well thought out and the instructions are very detailed, with lots of photos so each step is well illustrated (the pattern printed out is 24 pages). I had no problems following the instructions and all the pieces fit together perfectly. I've made a few bags over the years and usually struggle to get the lining to fit smoothly but did not have any problems with this one. Because I used heavier fabric for the outer bin, it is sturdy and the sides don't cave in or sag so I think this pattern is perfect for light or medium weight upholstery fabric or canvas. If you use quilting cotton, you will need heavier interfacing to provide more body. I'm very happy with my bag; I'll make another one as soon as I figure out what to use it for.
Come back tomorrow for an account of my experience making the Lola Pouch.

Monday, September 21, 2020
Sewing Bins and Bags - Part 1 - Little Snippets Thread Catcher From The Bonnie & Camille Quilt Bee
First up is the Little Snippets Thread Catcher from the Bonnie & Camille Quilt Bee book. The book was the subject of my last post and is a worthwhile addition to your quilting book library. I was really taken with the thread catcher when I read the book and wanted it to be my first project.
I had plans to make some other sewing bins and bags, mainly to hold my English paper piecing suppies and projects, and wanted to make the thread catcher in the same coordinating set of fabrics from my stash. I started by making the star block shown in the original but goofed up because the fabrics I used did not have enough contrast for the star to be visible. But while I was looking for a lighter fabric to add to my set to remake the stars, I thought of simplifying while using the measuring twill tape in a different way.
So instead of the pieced blocks, I have the measuring twill tape on two sides and the pockets on the other two sides. I deviated from the directions in one other respect; besides using batting, I used a medium weight interfacing to make the sides stiffer to keep them upright and prevent sagging. I think it was a good idea, though closely spaced quilting could have the same effect.
The directions are easy to follow, I just had one problem and that was my fault. I reviewed all the instructions thoroughly before cutting and was certain there was a misprint or mistake because the cutting measurements did not make sense to me. Then I realized, I was thinking of the thread catcher as a cube, with a square as the base, but the base is a rectangle and the sides with the star blocks are wider than the ends with the pockets. Once I understood that, all went well. I did use a walking foot on my machine and wonder clips instead of pins to hold pieces together prior to sewing. The most difficult part was attaching the binding to the top because it is a small opening and took some maneuvering to guide it under the sewing machine needle.
I'll be back tomorrow with more about the other items shown in the top photo, the Sierra Bin and the Lola Pouch.


Subscribe to:
Posts (Atom)